GEL PLATE INSTRUCTIONS: 1st Draft
Gel Plate Printing
Gel plate printing is a simple form of monoprinting that uses a flexible gel plate, acrylic paint, and paper to create layered prints. You can work with stencils, masks, stamps, textured objects, leaves, fabric, lace, found materials, or hand-carved stamps and linocuts.
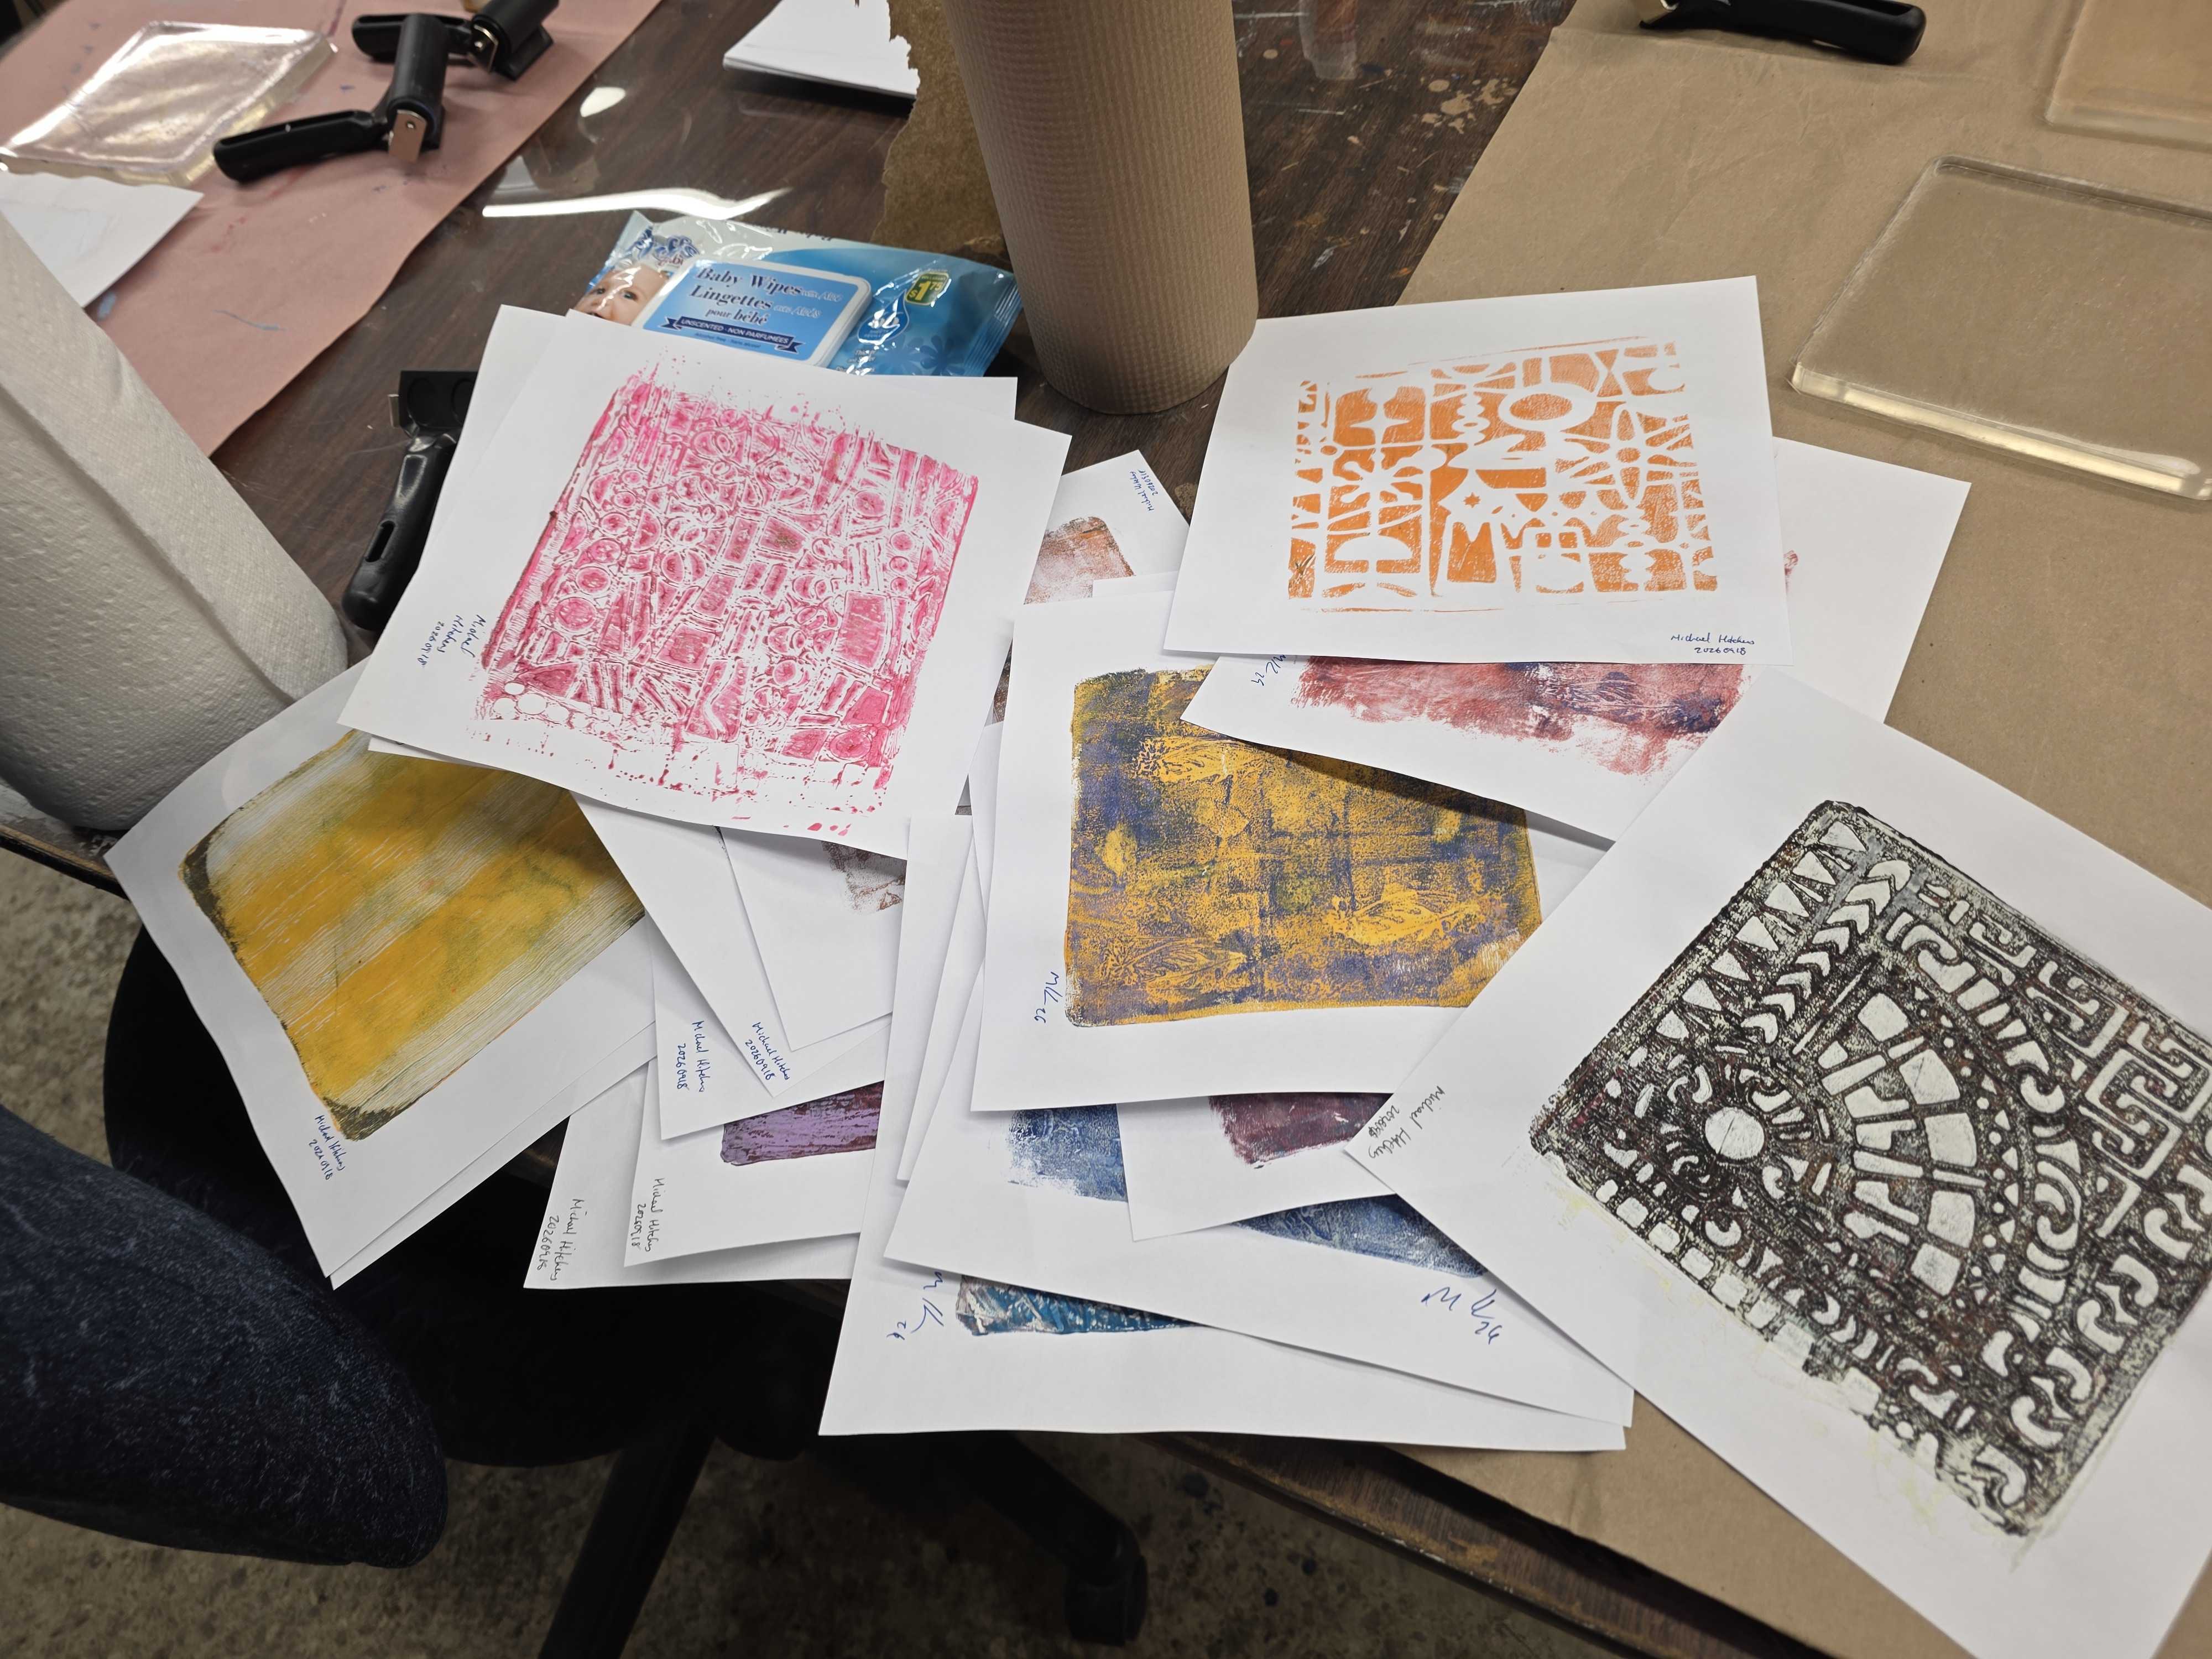
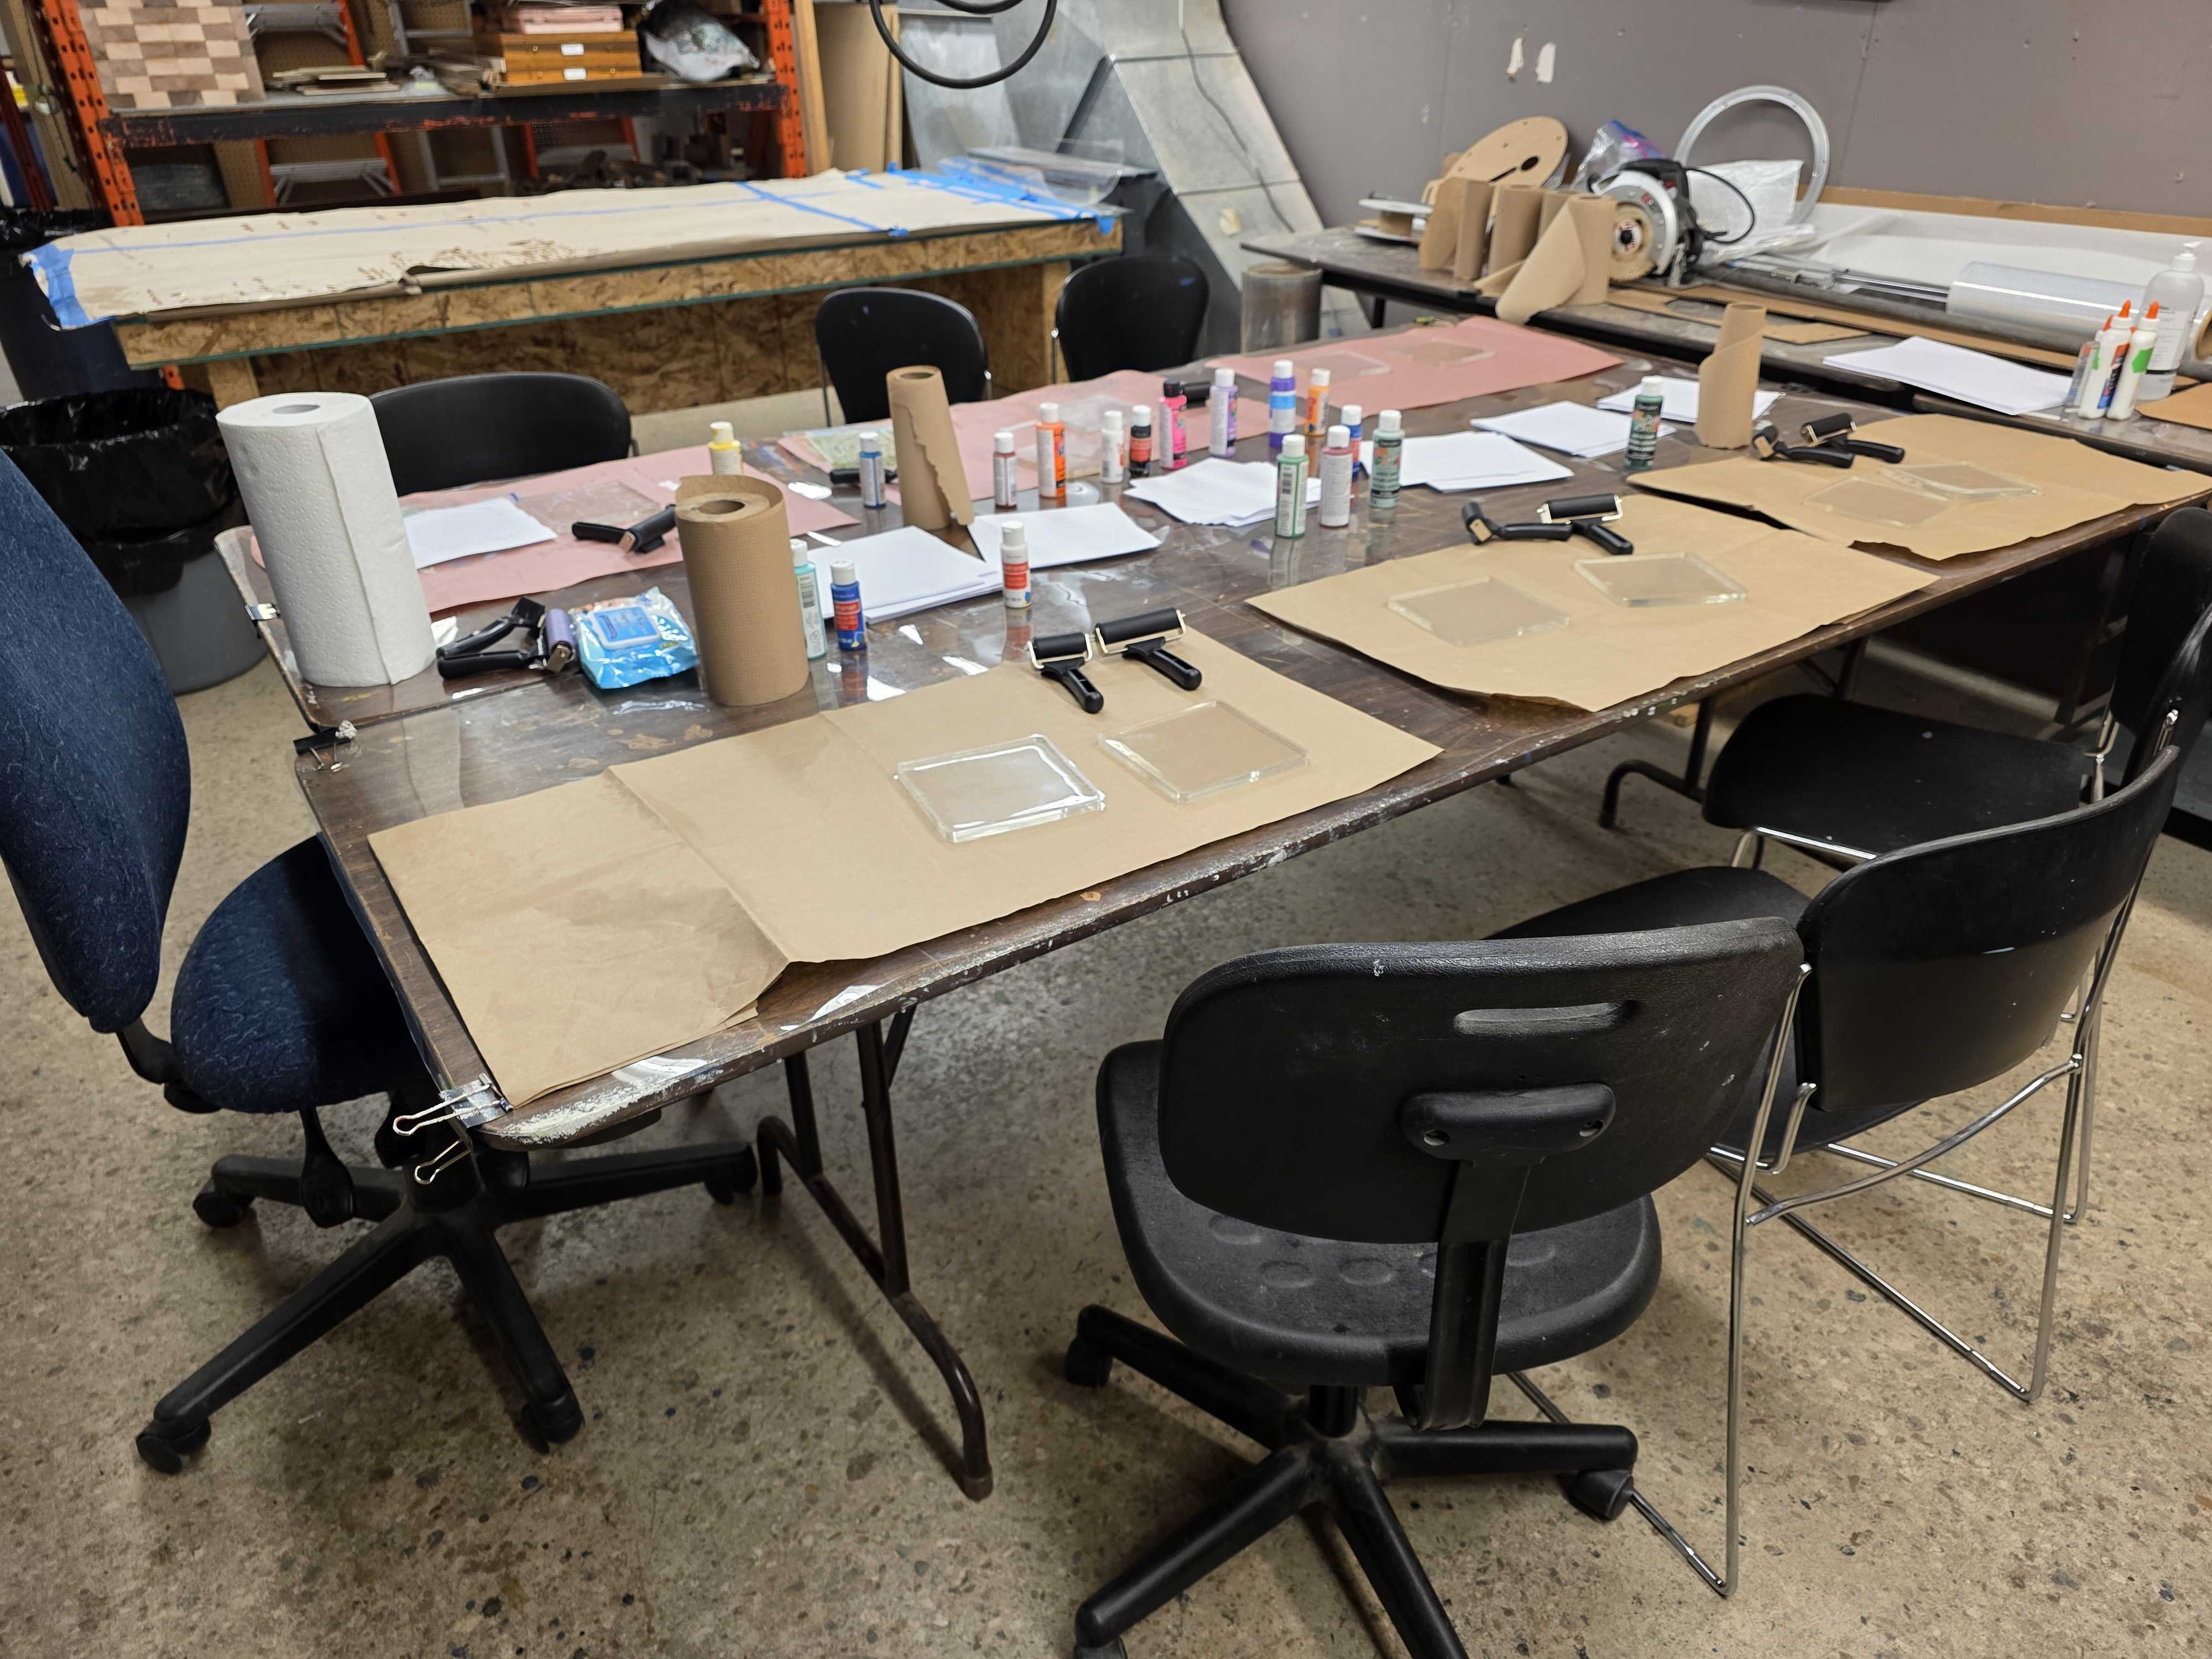
This guide covers the basic process, safe use, cleanup, and care of the gel plates in the Maker Space.
1. Before You Begin - Tools
- Gel printing plate
- Brayer/roller
- Acrylic paint
- Smooth printing paper
- Scrap paper for testing
- Stencils, masks, stamps, or textured objects
- Palette or non-porous surface for rolling paint
- Paper towels or a soft cloth
- Water for cleaning tools
- Optional: registration guides or a printing surface
Choose an appropriate workspace
Work on a clean, flat surface with enough room to place your plate, paper, paint, and tools.
Protect the work surface if necessary.
Keep the gel plate away from sharp tools, cutting blades, pins, and anything that could puncture or cut it.
2. Understanding the Gel Plate
A gel plate is a flexible printing surface. It does not need to be heated, soaked, or prepared with a special coating.
The plate is designed to accept a thin layer of paint and transfer that paint to paper.
The most important rule is:
Use a thin, even layer of acrylic paint.
Too much paint can produce muddy prints, cause paper to stick, and make the image difficult to control.
3. Preparing the Plate
- Place the clean, dry gel plate on a flat surface.
- Remove any protective film if your particular plate has one.
- Make sure the plate is free of dust, dried paint, grit, or debris.
- Have your paper and any stencils or objects ready before applying paint.
Do not use the plate on an uneven, gritty, or dirty surface.
4. Applying Paint
- Place a small amount of acrylic paint on the plate.
- Use the brayer to spread the paint into a thin, even layer.
- Roll in several directions until the surface is evenly coated.
You should generally be able to see the surface of the plate through the paint. You want a smooth satiny thin layer.
If the paint looks thick or puddled
You have probably applied too much.
Continue rolling until the layer becomes thin and even, or remove some paint with the brayer.
If the paint dries immediately
You may be working too slowly, using too little paint, or working in a very warm/dry environment.
Prepare your paper and materials before applying paint so that you can print promptly.
5. Making a Basic Print
Once the paint is rolled onto the plate:
- Add a stencil, mask, textured object, or other material if desired.
- Place the printing paper carefully over the plate.
- Press the paper gently with your hands or use a clean brayer.
- Apply even pressure across the entire surface.
- Carefully lift the paper from one edge.
Your first print is a monoprint—a unique print rather than a repeatable edition.
6. Creating Texture and Patterns
Many different materials can be used to create texture.
Examples include:
- Stencils
- Leaves
- Lace
- Mesh
- Fabric
- Corrugated cardboard
- Bubble wrap
- String
- Textured papers
- Found objects
- Commercial stamps
- Hand-carved stamps
- Linocut blocks
Place the object into the wet paint, make an impression, remove it, and then print.
Experiment with different pressures and textures.
Important!!!
Only use objects that will not damage the plate.
Never drag sharp or pointed objects directly across the gel plate.
7. Using Stencils
Stencils can be placed directly onto wet paint.
You can:
- Place the stencil on the paint and print through it.
- Remove paint through the openings.
- Use a second colour over the resulting pattern.
- Combine several stencils to create layers.
For clean results, keep the paint layer thin.
When removing a stencil, lift it rather than dragging it across the plate.
8. Using Stamps and Linocuts
Gel plates work particularly well with stamps and relief-printing blocks.
Apply a thin layer of paint to the gel plate and transfer the image using the stamp or carved block.
You can also use the gel plate as part of a mixed-media printing process.
When using hand-carved blocks
Take particular care with:
- Linocut tools
- Carving blades
- Sharp edges
- Wood blocks
- Damaged or splintered materials
Keep sharp tools away from the gel plate.
9. Creating Layers
Layering is one of the most effective ways to create complex gel prints.
A typical sequence might be:
Background → texture → stencil → image → detail
Allow each layer to become sufficiently dry before adding another layer if you want the previous layer to remain distinct.
For transparent or semi-transparent effects, use a small amount of paint and work in thin layers.
Tip
Do not try to make the final image in one pass.
Gel printing works particularly well when you build the image gradually.
10. Working with Multiple Colours
You can use several colours in one print.
For best results:
- Use small amounts of paint.
- Roll colours separately when appropriate.
- Avoid over-mixing colours on the plate.
- Clean or partially clean the plate between layers when necessary.
Remember that colours printed over one another can mix optically and physically.
For example, yellow printed over blue may produce green.
11. The Ghost Print
After making a print, there may still be paint remaining on the gel plate.
Place another sheet of paper on the plate and pull a second print.
This is called a ghost print.
Ghost prints are often lighter and more subtle than the original print and can make excellent backgrounds for additional layers.
12. Cleaning the Gel Plate
The gel plate should be cleaned after use.
Preferred cleaning method
- Remove large pieces of dried or wet paint gently with your fingers or a soft cloth.
- Use a damp, soft cloth or paper towel to remove remaining paint.
- If necessary, use a small amount of mild soap and water.
- Rinse or wipe the plate clean.
- Dry it gently with a soft, lint-free cloth or allow it to air dry.
Do not scrub aggressively.
Do not use abrasive cleaning pads.
Do not scrape the plate with a blade or other sharp tool.
13. Removing Dried Acrylic Paint
If acrylic paint has dried on the plate, do not attack it with a knife, scraper, razor blade, or other sharp tool.
Instead:
- Moisten the area.
- Allow it some time to soften.
- Gently rub or lift the paint with your fingers or a soft cloth.
- Repeat as necessary.
Some staining may remain on a gel plate. This does not necessarily affect its printing performance.
14. What NOT to Use on a Gel Plate
To protect the plate, do not use:
- Razor blades
- X-Acto knives
- Utility knives
- Needles
- Pins
- Sharp metal tools
- Abrasive scrubbers
- Sandpaper
- Solvents
- Acetone
- Strong chemical cleaners
- Anything designed to cut, puncture, or abrade the surface
Avoid placing rough, jagged, or sharp materials directly onto the plate.
When in doubt, ask the Maker Space staff before using an unfamiliar material.
15. Paint Selection
Acrylic paint is the standard choice for gel plate printing.
Different acrylic paints behave differently depending on:
- Pigment
- Brand
- Viscosity
- Drying time
- Temperature
- Humidity
For beginners, start with a regular fluid or medium-body acrylic paint rather than a very thick heavy-body paint.
Experiment with small amounts before committing to a large print.
16. Paper Selection
Smooth papers generally provide the easiest starting point.
Suitable papers may include:
- Printmaking paper
- Mixed-media paper
- Drawing paper
- Smooth watercolour paper
- Lightweight cardstock
- Other smooth, absorbent papers
Paper that is extremely textured may produce less even transfers.
Paper that is very glossy or heavily coated may behave differently and can be more difficult to print successfully.
17. Troubleshooting
The paint is too thick
Problem: The print is muddy or the paper sticks.
Solution: Use less paint and roll it more thoroughly with the brayer.
The paint is drying before I can print
Problem: The paint is becoming tacky or dry.
Solution:
- Prepare your paper and stencil first.
- Work more quickly.
- Use a slightly larger amount of paint.
- Avoid working directly beside a fan or strong air current.
The paper is sticking to the plate
Possible causes:
- Too much paint
- Paint has partially dried
- Paper is too absorbent
- Excessive pressure
Try using less paint and making the print sooner after applying it.
The print is very faint
Try:
- Slightly increasing the amount of paint.
- Using a smoother paper.
- Applying more even pressure.
- Checking that the brayer is distributing the paint evenly.
The print is patchy
Check that:
- The plate is clean.
- The paint layer is even.
- The paper is making full contact with the plate.
- You are applying consistent pressure.
The colours are becoming muddy
You may be overworking the paint.
Use separate layers and allow them to dry when appropriate.
Clean the plate between colour combinations when necessary.
The plate has stains
Some acrylic pigments can leave permanent staining.
This is usually cosmetic and does not mean the plate is damaged.
Do not use aggressive cleaning methods to try to return the plate to its original appearance.
18. Caring for the Plate
Gel plates are durable but can be damaged by sharp objects and improper cleaning.
Always:
- Keep the plate flat.
- Keep it away from sharp tools.
- Keep it clean.
- Handle it with clean hands.
- Store it according to the Maker Space’s designated procedure. (Place plate on smooth stiff plastic sheet or vinyl or card stock on both sides and store flat)
Never:
- Fold the plate.
- Cut the plate.
- Punch holes in the plate.
- Use it as a cutting surface.
- Leave sharp tools on top of it.
- Use solvents or harsh chemicals unless specifically approved for that particular plate.
19. Maker Space Cleanup
Before leaving the station:
Gel plate
- Clean the plate.
- Check that no paint or debris remains.
- Return it to its designated storage location.
Brayer
- Clean all paint from the roller (soak)
- Clean the handle and edges.
- Leave it in the designated location.
Work surface
- Remove paint and scraps.
- Wipe the work surface.
- Check underneath the plate and surrounding area.
Stencils and tools
- Clean reusable materials.
- Return shared tools to their proper locations.
Paint
- Close all paint containers securely.
- Wipe paint from container rims if necessary.
- Return paints to their storage area.
Paper and scraps
- Dispose of unwanted scraps appropriately.
- Keep usable prints and papers out of the shared workspace.
Leave the station ready for the next maker.
20. Quick Start: Your First Gel Plate Print
If you’ve never used a gel plate before, start here.
- Put the gel plate on a clean, flat surface.
- Select a smooth sheet of paper.
- Choose one acrylic paint colour.
- Put a small amount of paint on the plate.
- Roll it into a thin, even layer with the brayer.
- Place a stencil or textured object on the paint if desired.
- Place paper over the plate.
- Press evenly with your hands or a clean brayer.
- Lift the paper.
- Admire your first print.
- Experiment with the remaining paint to make a ghost print.
- Clean the plate and brayer.
- Return all shared materials to their proper locations.
21. The Golden Rules of Gel Plate Printing
Thin paint.
Even pressure.
Work promptly.
Keep sharp objects away from the plate.
Do not use solvents or abrasive cleaners.
Experiment—mistakes often become the most interesting prints.
Clean the equipment before you leave it for the next maker.
Have Fun!
Gel plate printing is an experimental process. There is no requirement for every print to be perfect.
Try layering colours, combining textures, using unexpected materials, making ghost prints, and incorporating your own stamps or carved images.
The most successful prints often develop through experimentation rather than planning every step in advance.